Installation
Getting started with Self-Hosted Google Fonts Pro is simple as it’s mostly plug and play.
Upload & Activate
- Login to CodeCanyon and go to the Downloads page and download the plugin.
- Go to your WordPress Admin > Plugins > Add New and click Upload plugin button.
- Select self-google-fonts-pro.zip file from your computer and upload.
- Go to Plugins page now and activate the Self-Hosted Google Fonts Pro plugin.
Basic Setup
Most of the setups will just have to enable processing for the plugin.
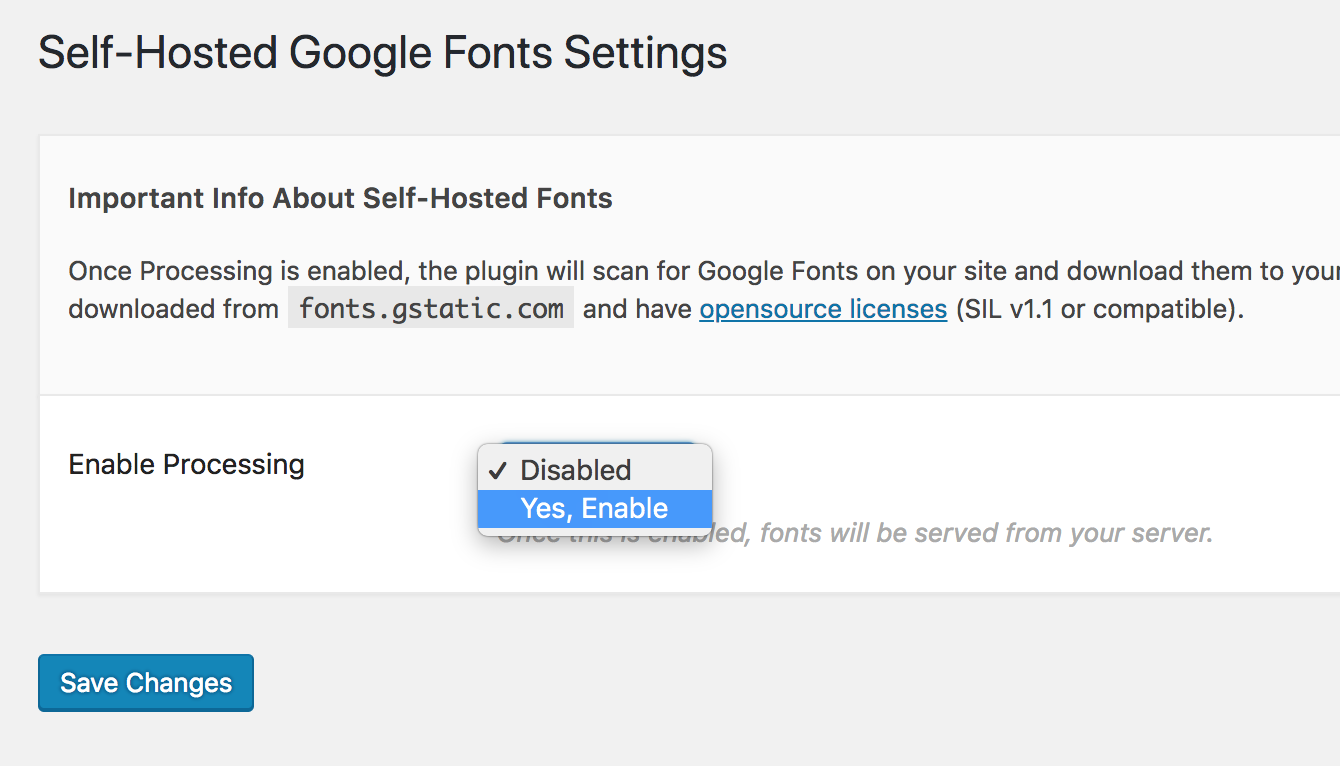
- Go to Settings > Self-Hosted Google Fonts.
- Next to Enable Processing, set it to Yes, Enabled.
- Save Settings.
That’s about it. Read rest of the documentation to learn more about other features.